Catfish Productions
Farming prospectives
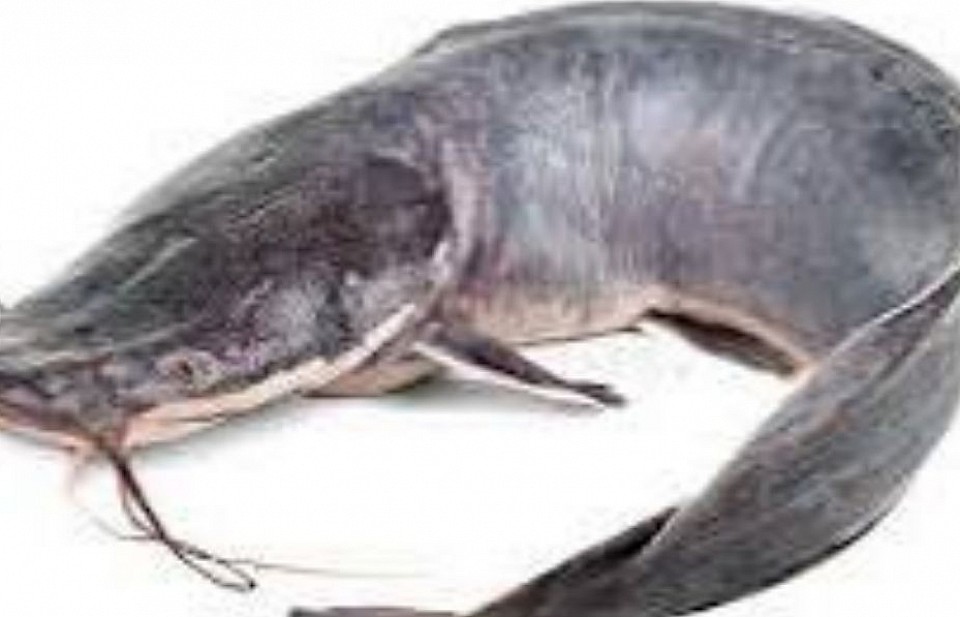
Knowing more about catfish productions
Preparing ponds:
Preparing your ponds is the primary task that has to be well taken care of. We different kinds of ponds and different ways of preparing them.
For example: we have the following ponds, namely;
1. Earth ponds,.
2. Plastic ponds.
3.Semi earth ponds.
4. Block built ponds
Scroll down 👇 to see your preferred type of pond{s}
Earth ponds
Earth ponds
To prepare an earth pond for catfish, here's a comprehensive guide:
1. Pond Construction (If you're building a new pond):
* Site Selection: Choose a location with clayey or loamy soil that retains water well. Avoid sandy or gravelly soils. Ensure a good water source is nearby (well, stream, or river). Consider the topography for drainage.
* Size and Shape: The size depends on your production goals. For commercial purposes, 1 to 5 acres is typical. Oval or circular shapes are often recommended for better water circulation.
* Depth: Aim for a depth of 4 to 6 feet. Deeper ponds offer temperature stability.
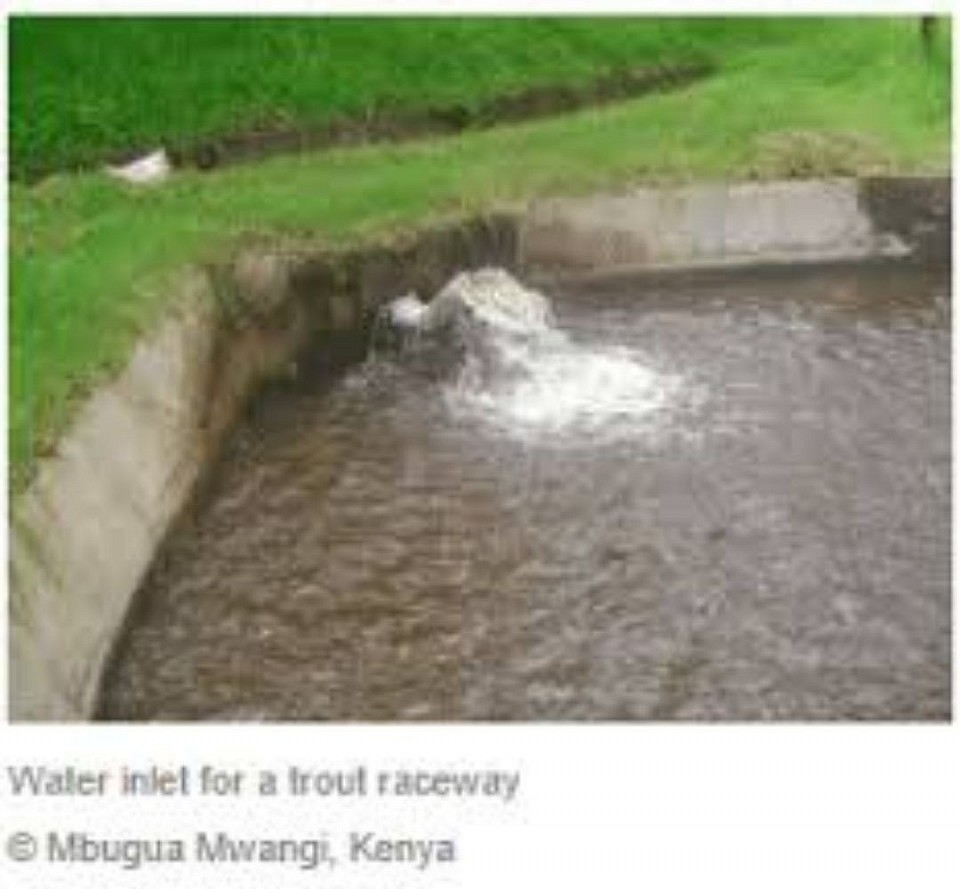
* Inlet and Outlet: Install proper inlet and outlet structures for water management. A flow-through system is ideal if using a river as a water source.
* Dike/Embankment: Construct strong dikes at least 2-3 feet higher than the expected water level to prevent flooding and fish escape, especially during the rainy season in Nigeria. Reinforce with sandbags if necessary.
* Lining (Optional): If the soil doesn't retain water well, consider lining the pond with clay or a tarpaulin to minimize seepage.
* Slope: Ensure the pond walls have a slope (around 45 degrees) for easier access and maintenance. The bottom should also slope towards the outlet for effective drainage.
2. Pond Preparation (For new or existing ponds):
* Cleaning and De-mudding: For existing ponds, remove accumulated mud, debris, and vegetation. For new ponds, clear any vegetation and level the bottom. Allow the pond bottom to dry for a few days to kill potential predators like water insects and amphibian larvae.
* Repair: Check the banks and dikes for any weak points or leaks and repair them.
* Inlet and Outlet Check: Ensure the inlet and outlet are clear and functioning correctly.
* Predator Control: Net the pond to prevent predators like birds, snakes, and frogs from accessing the fish.
* Treatment (Liming): Apply lime (agricultural lime) to the pond bottom. This helps to:
* Kill harmful microorganisms and parasites.
* Neutralize acidic soil.
* Improve water quality and nutrient availability.
* The amount of lime depends on the pond size and soil pH. It's often applied at a rate of 1-2 tons per hectare, but it's best to test your soil. Apply evenly to the dry pond bottom.
* Fertilization (Optional but beneficial for fry/fingerlings): For nursery ponds (if you're raising young catfish), fertilization can encourage the growth of phytoplankton and zooplankton, which are natural food sources for young fish. Organic or inorganic fertilizers can be used.
* Filling with Water: After treatment (allow a few days to a week after liming), gradually fill the pond with clean, fresh water from your source. Avoid introducing wild fish.
3. Water Quality Management (Ongoing):
* Regular Monitoring: Test water parameters regularly, including:
* Dissolved Oxygen: Essential for fish survival (aim for 5-6 mg/l). Use aeration if necessary.
* pH: Maintain a slightly acidic to neutral range (6.5-7.5).
* Ammonia and Nitrite: Keep levels low through proper stocking density and water exchange.
* Temperature: Catfish thrive in warm water (24-29°C or 75-85°F). Earthen ponds help maintain more stable temperatures.
* Water Exchange: Regularly exchange a portion of the water to remove waste and maintain water quality. The frequency depends on stocking density and feeding rates.
* Aeration: Use aerators (paddlewheel, submersible, etc.) to increase dissolved oxygen levels, especially in densely stocked ponds or during hot weather.
4. Stocking:
* Source Quality: Obtain healthy fingerlings from a reputable source.
* Acclimatization: Gradually acclimate the fingerlings to the pond water temperature before releasing them.
* Stocking Density: Avoid overcrowding, as it can lead to stress, disease, and poor growth. The appropriate density depends on your management practices and pond size.
By following these steps, you can prepare your earth pond to create a suitable environment for healthy and productive catfish farming. Remember that consistent monitoring and management are crucial for long-term success.
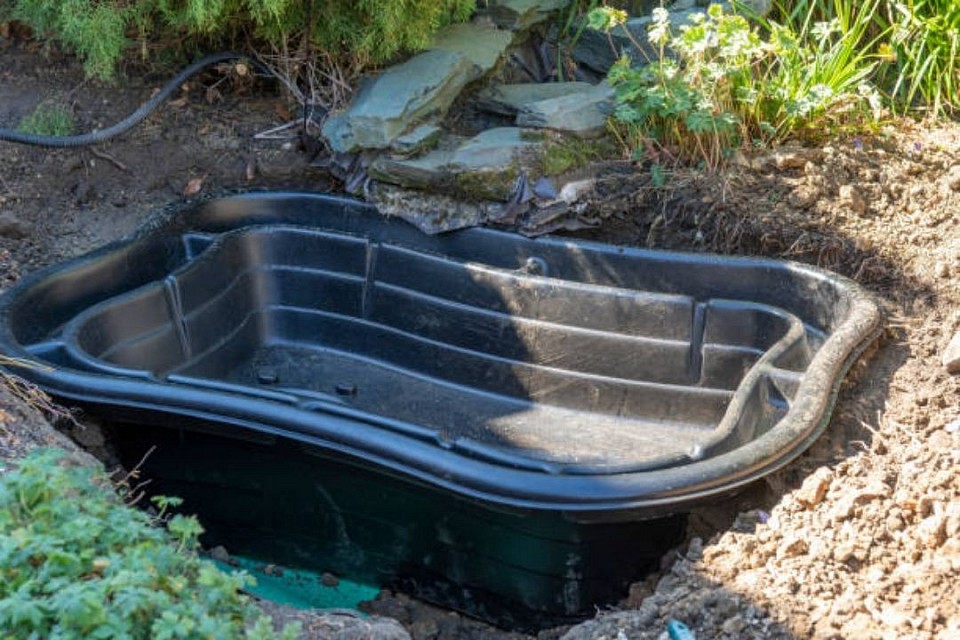
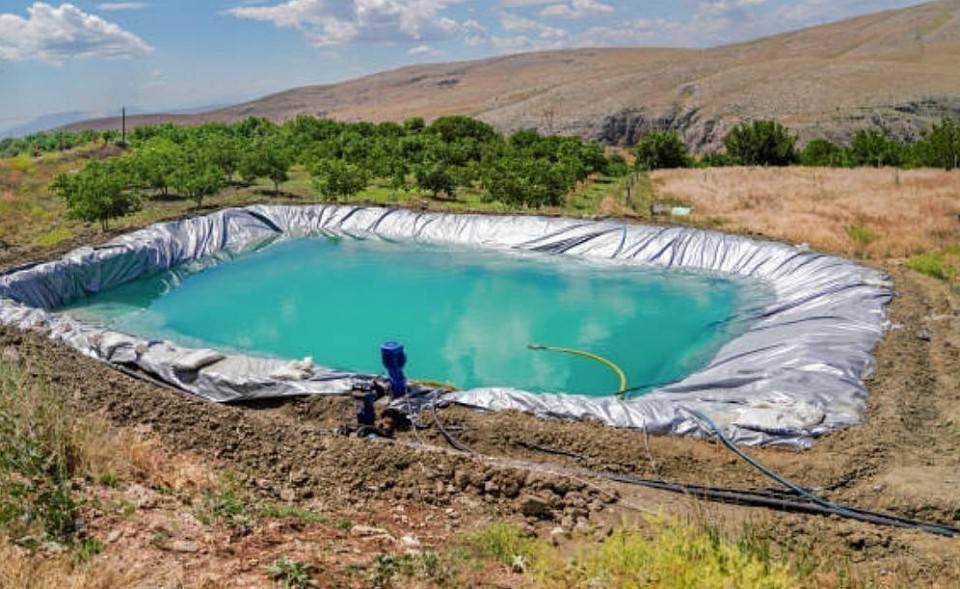
Plastic ponds
Plastic ponds
Preparing a plastic pond involves several steps to ensure it's suitable for its intended use, whether for fish, plants, or simply as a water feature. Here's a comprehensive guide:
1. Choosing the Right Plastic Pond Liner or Container
* Type of Plastic: Opt for fish-safe and UV-resistant materials like HDPE (High-Density Polyethylene), LDPE (Low-Density Polyethylene), PVC (Polyvinyl Chloride), or EPDM (Ethylene Propylene Diene Monomer rubber). These are durable and won't leach harmful chemicals into the water.
* Size and Shape: Determine the appropriate size and shape based on your available space and intended use. Consider the mature size of any fish or plants you plan to keep. Preformed plastic ponds come in fixed shapes, while flexible liners can be adapted to custom designs.
* Thickness: For flexible liners, choose a suitable thickness (measured in mils or millimeters) to prevent punctures and tears. Thicker liners are generally more durable.
* Preformed Containers: If using a plastic tub, ensure it's clean and free from any oils or toxic residues. Rubbermaid or similar storage tubs can work for small ponds.
2. Site Selection and Preparation
* Location: Choose a level area that receives a mix of sun and shade. Too much direct sunlight can lead to excessive algal growth and overheating, while too little might hinder plant growth.
* Stability: Avoid sandy or loose soil that could shift and cause the pond to sink or collapse.
* Accessibility: Ensure the location allows for easy access for maintenance, cleaning, and enjoyment.
* Digging (for flexible liners):
* Mark out the desired shape and size using a rope or hose.
* Excavate the area to the desired depth, keeping the sides sloping gently (around 20 degrees) for stability.
* Consider creating shelves at different depths for various plant types. A shallow "beach" area can also help wildlife enter and exit.
* Remove any sharp rocks, roots, or debris from the excavated area that could puncture the liner.
* Leveling (for preformed containers): Ensure the ground is perfectly level to support the container evenly and prevent stress cracks. You may need to dig a hole to sink the container or simply place it on a level surface.
3. Installing the Liner or Container
* Underlayment (for flexible liners): Place a protective layer of underlayment (such as pond underlayment fabric, old carpet, or a thick layer of sand) over the soil to cushion the liner and prevent punctures.
* Positioning the Liner: Carefully unfold and position the liner over the excavated area. Allow it to drape loosely and overlap the edges by at least 15-30 cm (6-12 inches). Use bricks or heavy objects to temporarily hold it in place.
* Filling with Water: Begin filling the pond with water slowly. As it fills, the liner will stretch and conform to the shape of the excavation. Adjust the liner as needed to remove major folds and wrinkles.
* Securing the Edges: Once the pond is full, secure the edges of the liner. You can:
* Tuck it under surrounding turf or landscaping.
* Weigh it down with rocks, paving stones, or gravel.
* Create an anchor trench around the perimeter and bury the liner edge.
* Preformed Containers: Simply place the leveled container in its prepared spot. If sinking it into the ground, backfill around the edges to secure it.
4. Adding Features and Planting
* Substrate: Add a layer of washed gravel or aquatic soil to the bottom if you plan to have rooted plants. Avoid using regular garden soil, as it contains too many nutrients and can cloud the water.
* Rocks and Decor: Incorporate rocks, driftwood, or other pond-safe decorations to provide visual interest and create habitats for potential wildlife. Ensure any additions are clean and free of contaminants.
* Plants: Introduce aquatic plants gradually. Choose a variety of submerged (oxygenating), floating, and marginal plants to create a balanced ecosystem and provide shade and cover.
* Equipment: Install any necessary equipment, such as a pump and filter system, ensuring they are appropriately sized for your pond.
5. Filling and Initial Setup
* Water Source: Ideally, use rainwater to fill your pond, as tap water contains chlorine and other chemicals that can be harmful to aquatic life. If using tap water, let it sit for a few days to allow chlorine to dissipate or use a dechlorinating product.
* Testing: Once filled, test the water's pH and other parameters to ensure they are within the appropriate range for your intended inhabitants.
6. Maintenance
* Regular Cleaning: Remove debris like leaves, twigs, and dead plant matter regularly using a net to prevent them from decomposing and polluting the water.
* Algae Control: Manage algae growth through a combination of methods, including maintaining a balanced plant population, ensuring proper filtration, and potentially using algae control products if necessary.
* Water Changes: Perform partial water changes periodically to refresh the water and prevent the buildup of harmful substances.
* Filter Maintenance: Clean your pond filter regularly according to the manufacturer's instructions to ensure optimal performance.
* Liner Inspection: Periodically inspect the liner for any signs of damage or leaks and repair them promptly.
By following these steps, you can successfully prepare a plastic pond that is both aesthetically pleasing and provides a healthy environment for aquatic life. Remember to research the specific needs of any fish or plants you plan to introduce to ensure their well-being.

Semi earth ponds
A semi-earth pond is a hybrid aquaculture system that combines natural earthen bottoms with constructed walls, usually made of concrete blocks, bricks, or other sturdy materials, extending above the ground level. This design offers some benefits of both earthen and concrete ponds, such as better water quality management and easier harvesting compared to fully earthen ponds, while still allowing for some natural interactions with the soil.
Here's a guide on how to prepare semi-earth ponds:
1. Site Selection and Preparation
* Location: Choose a site that is relatively level to minimize excavation and embankment work. Consider accessibility for construction, water supply, and harvesting. Avoid areas prone to flooding or contamination.
* Clearing: Remove all vegetation (trees, bushes, grass), rocks, and debris from the demarcated pond area. Clear as many big roots as possible.
* Marking: Outline the dimensions of your pond using pegs and string. Decide on the size and shape based on your production goals and available space. Rectangular or square shapes are generally recommended for easier management. Mark both the inner and outer perimeters of the walls.
* Topsoil Removal: Carefully remove and set aside the topsoil. This layer is rich in organic matter and can be used later to cover the outer slopes of the walls to encourage vegetation growth, which helps prevent erosion.
2. Excavation
* Digging: Excavate the pond area to the desired depth. The depth can vary depending on the fish species you intend to raise, but a common depth ranges from 0.8 to 1.5 meters.
* Sloping: Ensure the pond bottom slopes gently towards a drainage outlet (usually at the deepest end). A slope of 2-3% is generally recommended for efficient water drainage.
* Drainage Ditch: Dig a small ditch (about 20-30 cm deep and 30-50 cm wide) along the bottom towards the planned outlet. This will facilitate complete drainage during harvesting or pond maintenance.
3. Wall Construction
* Foundation: Prepare a level foundation for the walls along the marked outer perimeter. For block or brick walls, you might need a shallow concrete footing for added stability.
* Wall Building: Construct the walls using your chosen material (concrete blocks, bricks, etc.). The height of the walls should be at least 50 cm above the maximum water level (freeboard) to prevent fish escape and flooding. Ensure the walls are sturdy and well-mortared if using blocks or bricks.
* Inner Slope: As you build the walls, create an inner slope from the top of the wall down to the earthen bottom. This slope helps prevent erosion of the earthen banks and makes it easier to move around the pond edges. A 1:1.5 or 1:2 (vertical:horizontal) slope is common.
4. Lining (Optional but Recommended)
* Purpose: While the bottom is earthen, lining the walls and possibly the bottom part of the inner slopes with an impermeable material can significantly improve water retention and prevent seepage, especially in porous soils.
* Materials: Common lining materials include:
* HDPE (High-Density Polyethylene) liners: Durable, UV-resistant, and relatively easy to install.
* LLDPE (Linear Low-Density Polyethylene) liners: More flexible than HDPE and good for irregular shapes.
* PVC (Polyvinyl Chloride) liners: A more economical option but potentially less durable than HDPE or LLDPE.
* Concrete plastering: Can be applied to the inner walls for a more permanent lining.
* Installation: If using a synthetic liner, ensure the excavated area and inner slopes are smooth and free of sharp objects. Lay the liner carefully, overlapping edges as needed, and secure it along the top of the walls. Concrete plastering requires proper mixing and application techniques.
5. Inlet and Outlet Structures
* Inlet: Install a pipe or canal system for filling the pond with water. The inlet should be screened to prevent the entry of unwanted fish or debris.
* Outlet: Install a drainage system at the deepest part of the pond. This usually involves a pipe with a valve or a gate that can be opened to drain the water completely. Ensure the outlet is also screened to prevent fish escape.
6. Soil Treatment (If Necessary)
* Soil Testing: If you haven't already, it's advisable to test the soil pH. Most aquaculture species thrive in a pH range of 6.5-8.5.
* Liming: If the soil is acidic (low pH), apply agricultural lime (calcium carbonate) to raise the pH. The amount of lime needed will depend on the soil test results. Spread the lime evenly over the pond bottom before filling with water.
* Fertilization (Optional): In some semi-intensive systems, you might choose to fertilize the pond to promote the growth of natural food (plankton). This is usually done after filling the pond and before stocking fish. Organic or inorganic fertilizers can be used, following recommended application rates.
7. Filling with Water
* Slowly Fill: Once the construction and any soil treatments are complete, slowly fill the pond with clean, suitable water.
* Check for Leaks: Monitor the water level for any significant drops, which could indicate leaks in the walls or liner. Address any leaks promptly.
8. Water Quality Preparation
* Allow Stabilization: Let the filled pond sit for a few days to allow water parameters to stabilize.
* Test Water Quality: Test the pH, temperature, dissolved oxygen, and other relevant water quality parameters before introducing fish. Adjust as needed.
By following these steps, you can effectively prepare a semi-earth pond for aquaculture, providing a controlled yet somewhat natural environment for raising fish. Remember that specific techniques and materials may vary depending on your local conditions, available resources, and the species of fish you plan to culture.